Where to Buy an eSIM for Thailand in 2026
7/12/2026
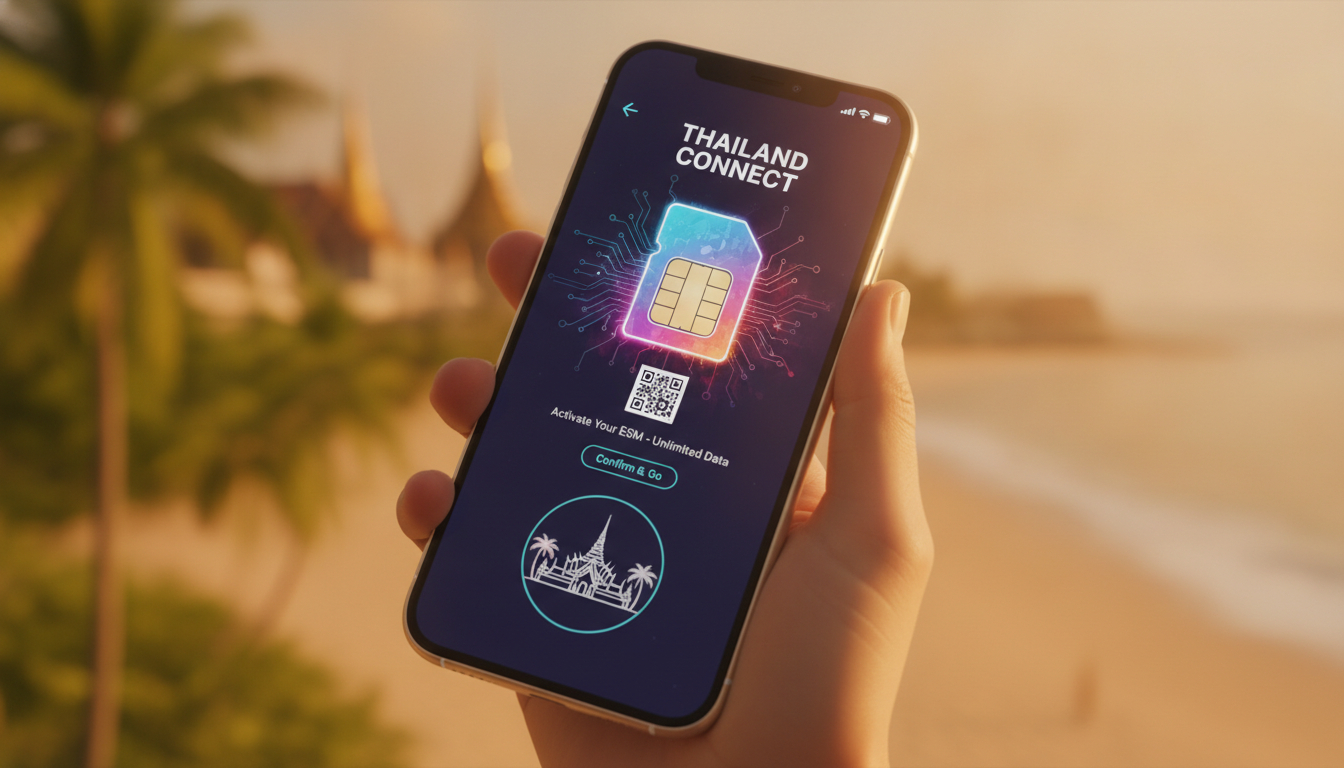
In short, what you'll discover in this article: Learn why choosing an eSIM for Thailand is a smart move for travelers. Explore where to buy reliable eSIMs, how to pick the best plan, and step-by-step activation guides for your phone.
Stay connected effortlessly from arrival to departure.
1. Introduction — Why Choose an eSIM for Thailand
Traveling to Thailand soon? The convenience of the buy esim thailand option lets you skip the hassle of physical SIM cards.
With an eSIM, you can have instant internet access upon landing, avoiding roaming fees and long queues at airport kiosks. This digital SIM technology supports seamless connectivity across popular destinations like Bangkok, Phuket, and Chiang Mai, making your trip smoother.
2. Advantages and Disadvantages of eSIM vs Physical SIM
Choosing between an eSIM and a traditional SIM card depends on your travel needs. Here are key points to consider:
-
Advantages of eSIM:
- Instant activation without visiting stores
- No need to swap physical cards
- Supports multiple profiles on one device
- Reduces risk of losing or damaging SIM cards
-
Disadvantages of eSIM:
- Requires a compatible unlocked phone
- Some older devices don’t support eSIM
- Activation can be tricky without clear instructions
Physical SIMs still offer broad compatibility but come with the inconvenience of purchasing and swapping cards during travel.
3. Where to Buy an eSIM for Thailand
3.1 Local eSIMs (Online Purchase / Airports / Shops)
Local providers in Thailand offer eSIMs that provide excellent coverage on networks like AIS, TrueMove H, and dtac. You can purchase these directly online before your trip or at airports and retail shops upon arrival.
- Buying online ensures you have your eSIM ready before landing.
- Airport counters offer convenience but may have limited plans.
- Local shops provide personalized assistance but require time.
3.2 International eSIMs (Marketplaces and Resellers) — When to Prefer Them
International marketplaces such as Airalo or Holafly sell Thailand-compatible eSIMs with instant activation worldwide. These are ideal if you want to arrange connectivity from home or combine multiple countries in one plan.
- They often feature competitive prices starting as low as $4 USD.
- Offer prepaid data plans without contracts.
- Good for tourists who want hassle-free setup.
For trustworthy options and detailed comparisons, consider checking platforms like Airalo’s Thailand eSIM or explore reviews on MyBestSim.
4. How to Choose the Right eSIM Plan
4.1 Criteria: Data Volume, Duration, Coverage, Price, Hotspot Tethering
When selecting a Thailand eSIM data plan, evaluate:
- Data volume: Estimate your daily internet usage.
- Duration: Match the plan length with your stay.
- Coverage: Ensure the provider covers your destinations.
- Price: Balance affordability with data needs.
- Hotspot tethering: Check if sharing data with other devices is allowed.
4.2 Recommended Scenarios: Short Stay, Long Stay, Expatriation, Business Travel
- Short stay: Opt for small data packages with quick activation.
- Long stay: Choose plans offering higher data caps or unlimited options.
- Expatriation: Look for flexible monthly renewals and backup data.
- Business travel: Prioritize reliable coverage and hotspot features.
For more tailored advice on Thailand travel connectivity, visit Thailand Travel eSIM.
5. Step-by-Step Activation Guide
5.1 Prerequisites (Unlocked Phone, Backup, Wi-Fi for Installation)
Before activating your Thailand eSIM:
- Confirm your phone is unlocked and supports eSIM.
- Backup important data.
- Connect to Wi-Fi for downloading the eSIM profile.
5.2 Activation on iPhone (Clear Steps)
- Scan the QR code provided by the eSIM seller or enter details manually.
- Go to Settings > Cellular > Add Cellular Plan.
- Follow prompts to install the profile.
- Label your plan (e.g., “Thailand”).
- Select it as your active line when needed.
5.3 Activation on Android (Steps and Manufacturer Variations)
Android activation varies by brand but generally:
- Open Settings > Network & Internet > Mobile Network.
- Select Add Carrier or Download a SIM.
- Scan the QR code or enter activation info manually.
- Confirm installation and enable the new profile.
Refer to your device’s manual for specific instructions if needed.
5.4 Troubleshooting Common Issues (QR Not Scanned, Profile Not Installed)
If problems arise:
- Ensure QR code is clear and device camera works well.
- Restart your phone before retrying installation.
- Check network settings and airplane mode status.
- Contact provider support for assistance.
6. Device Compatibility — Which Models Support eSIM
Most recent smartphones support eSIM technology:
- iPhone XS and newer models fully support multiple profiles.
- Google Pixel 3 and later have built-in eSIM capability.
- Samsung Galaxy S20 series onward support dual SIM with one physical + one eSIM.
Check your phone’s specifications or visit Mobile Data Thailand Travel for detailed compatibility lists.
7. Pricing and Quick Comparison (Typical Plan Examples)
Prices vary based on data volume and duration; typical plans include:
- Small packages starting around $2–$4 USD for a few days’ use
- Unlimited data plans for longer trips at higher costs
- Flexible options allowing top-ups or extensions
For exact offers and verified discount codes, consult trusted comparison platforms like MyBestSim to find the best deal tailored to your itinerary.
8. Practical Tips and Checklist Before Departure
To ensure smooth connectivity in Thailand:
- Purchase your eSIM at least a few days before travel.
- Verify phone compatibility with your chosen plan.
- Keep QR codes accessible digitally or printed.
- Test activation while still on Wi-Fi before leaving home.
- Download offline maps as backup navigation tools.
This checklist helps avoid last-minute surprises upon arrival.
9. Conclusion and Call to Action
Buying an eSIM for Thailand is a convenient way to stay connected without roaming hassles or physical SIM swaps. By choosing reliable providers and following our activation guide, you’ll enjoy seamless internet access throughout your trip.
Ready to secure your Thailand travel connection? Explore verified offers now at thailandtravelsim.com or contact our support team for personalized assistance!
FAQ
Where can I buy a reliable eSIM for Thailand?
You can purchase Thailand eSIMs from local providers online, airport counters, or retail shops. International marketplaces like Airalo and Holafly also offer instant activation eSIMs suitable for travelers wanting to arrange connectivity before arrival.
How do I activate an eSIM on my iPhone for Thailand?
To activate, scan the QR code from your eSIM provider, go to Settings > Cellular > Add Cellular Plan, and follow the prompts. Label the plan and select it as active. Ensure your phone is unlocked and connected to Wi-Fi during setup.
What are the main advantages of using an eSIM in Thailand?
eSIMs offer instant activation without physical cards, support multiple profiles on one device, and reduce the risk of losing SIM cards. They also help avoid roaming fees and long queues at airports, making travel more convenient.
Which phones support eSIM technology for Thailand travel?
Most recent smartphones support eSIM, including iPhone XS and newer, Google Pixel 3 and later, and Samsung Galaxy S20 series onward. Check your device specs to confirm compatibility before purchasing an eSIM.
What should I consider when choosing a Thailand eSIM plan?
Evaluate data volume, plan duration, network coverage, price, and hotspot tethering options. Match these criteria to your trip length and usage needs to select the best plan for short stays, long stays, or business travel.

Noah Bennett
Noah is a Southeast Asia travel writer. At Thailand eSIM he compares AIS, TrueMove H and dtac data plans from Bangkok to the islands.